Are You Prepared to Drink Dirty Water? The Truth About Wilderness Survival
Survivalists and preppers know the drill—prepare for the worst and hope for the best. But when you're out in the wilderness, one thing is certain, water is not something you can compromise on. It's time to get serious about purifying water because, frankly, not all that glitters is gold—or drinkable.
The Unforgiving Rule of Threes
Here's a stark reminder of nature's unyielding laws:
- Three minutes without air and you're done.
- Three days without water, and you might as well be cactus fodder.
- Three weeks with no food, and you'll find yourself in a most unfortunate situation.
Water is the linchpin of survival, the most crucial resource for life. But before you go guzzling from that sparkling mountain stream, remember this—a clear stream does not guarantee safe drinking. Enter the sneaky and dreadful culprit, biological hazards, ready to turn your survival dream into a nightmare.
The Hidden Dangers
Even the clearest water sources can harbor pathogens like Giardia (hello, Beaver Fever!). Anyone who's been there will tell you, it's a trip to the digestive underworld you don't want.
Boiling—The Tried and True Method
Boiling water for at least 10 minutes is a surefire way to kill bacteria and parasites. But remember, boiling doesn't filter out particulates or improve clarity. After all, who wants to drink what looks like swamp stew?
Build Your Own Filter
If you're channeling your inner MacGyver, construct a simple filter using layers:
- Bottom Layer: Charcoal and sand
- Next Layer: Pebbles
- Top Layer: Grass and leaves
This DIY method clears out larger debris. Follow it with boiling, and you're on your way to safer hydration.
Nature’s Purification Tools
Winter's no excuse for dehydration. Melt clean snow in a bush pot with added water to prevent scorching, or use the fire-pendulum method—tie snow in a sleeve, hang it above your fire, and gather the drips.
Rain or dew collection from your shelter can be even cleaner than river water, sparing you the risk of pathogens.
Arm Yourself with Modern Solutions
Regardless of your prowess in survival skills, carrying purification tablets or iodine is non-negotiable. Even with a commercial water filter in tow, these tablets might be your last line of defense.
Join the Ranks of the Prepared
Don’t leave your survival to chance. Join our community of like-minded, intrepid adventurers and gain access to more expert tips and insights. Equip yourself with the knowledge and tools to face whatever Mother Nature throws your way—because when it comes down to it, survival is not just a skill. It's an art.
Act now, and be ready for anything. Join us today!
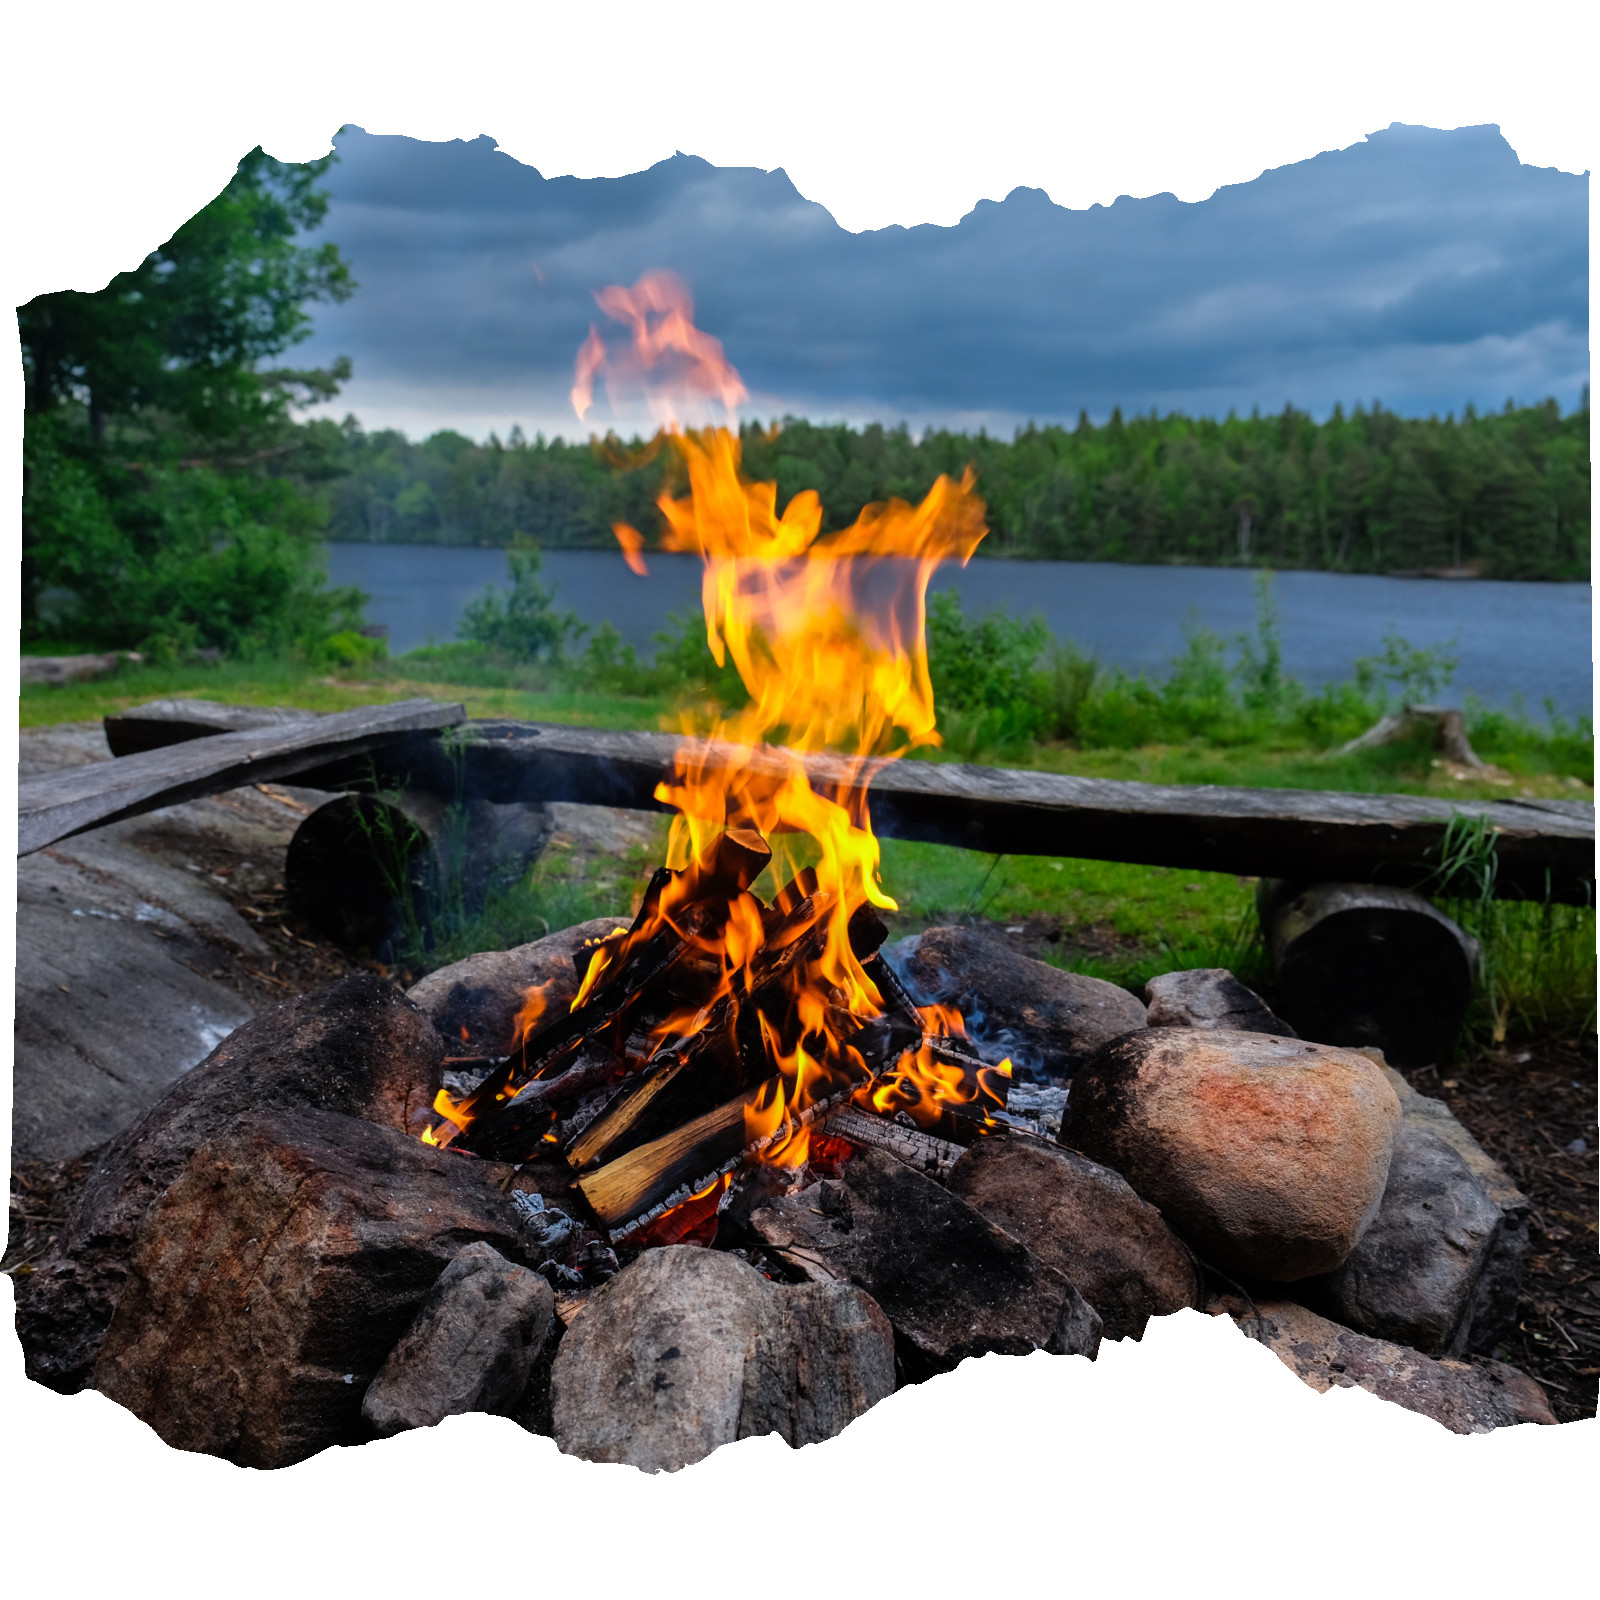
When heading into the great outdoors, starting a fire is one of the most essential skills any adventurer should have. But you don't need the latest gadgets or expensive gear to get the job done. In fact, some of the most reliable and effective fire-starting tools are also the most affordable. In this blog I will introduce you to seven cost-effective fire-starting tools that every outdoor enthusiast, budget camper, and survivalist should have in their toolkit.
1. Harness the Power of Friction
The concept of friction is as old as time itself; even our ancestors knew that rubbing two sticks together could create fire. A fire bow is perhaps the most recognized tool in this category. While it requires practice and patience, mastering the fire bow technique using proper materials can quickly and efficiently start a fire. For those who love a challenge and wish to hone their survival skills, this is a must-try method.
2. Flint & Steel Magic
Flint and steel have been used by campers and survivalists for generations. By striking high carbon steel with a piece of flint or chert, you can create sparks that ignite char cloth to start a fire. The beauty of this method is its simplicity and accessibility. You don’t need to buy an expensive set—use the spine of your knife or hatchet, and find flint or chert in your surroundings.
3. Modern Ferro Rod & Magnesium Starters
A modern twist on flint & steel, ferro rods and magnesium starters are reliable and easy to use. Found in stores like Walmart for as low as $5, these tools allow you to scrape magnesium shavings into tinder and shower it with hot sparks using the ferro rod. It's an inexpensive yet effective method, perfect for any camping kit.
4. Solar-Powered Magnifying Lens
Remember using a magnifying glass to focus sunlight and burn paper as a kid? That same principle applies to starting fires! With sufficient sunlight, a magnifying lens can quickly char or ignite tinder. It's a fun, eco-friendly option that requires nothing but the sun's rays.
5. DIY Storm Matches
Why pay a premium for storm matches when you can make them yourself? With strike anywhere matches and a bit of nail polish, you can waterproof your matches at home. Simply coat the matchsticks from halfway up to the head with two or three layers of polish. The result is a waterproof match that burns hotter and longer.
6. Reliable Butane Lighter
The trusty butane lighter is a staple in any fire-starting kit. Compact and easy to use, these lighters stay in my pocket, fire kit, and cook kit. Even when the butane runs out, the spark wheel can ignite char cloth, making it a versatile choice. Don’t forget to carry a backup, like a Zippo, for added reliability.
7. Economical Fire Extenders
Fire extenders such as candle stubs, tea candles, WetFire, homemade fire disks, and fatwood splinters can make your fire last longer. They help conserve fuel and tinder, ensuring your fire stays lit when you need it most. These items are not only effective but also incredibly affordable.
Now that you're equipped with these budget-friendly fire-starting methods, it's time to get outside and practice. Experiment with these tools in your backyard before your next big adventure. Feel the satisfaction of mastering a crucial survival skill without breaking the bank, and share your experiences with fellow outdoor enthusiasts. Happy camping and stay safe!
Join the Bushcraft Brotherhood
Embarking on your survival journey doesn't have to be a solo adventure. I'm excited to invite you to join our free online group, the Bushcraft Brotherhood, where like-minded enthusiasts gather to share tips, experiences, and support. Whether you're a seasoned survivalist or a curious beginner, our community is a hub for knowledge exchange and camaraderie. Connect with fellow bushcrafters, participate in engaging discussions, and learn new skills from experts around the globe. Don't miss the chance to expand your network and deepen your understanding of bushcraft. Join us today and become part of a growing family dedicated to mastering the art of living in harmony with nature!
Have you ever found yourself in nature's unforgiving grasp, wondering how you could turn the wild, untamed environment into a sanctuary? For survivalists and preppers, mastering the art of wilderness shelters is not just a skill—it's an essential part of staying alive.
Human beings are funny creatures. In our path to becoming modern humans, we’ve shed our fur coverings (for the most part), our claws have evolved into softer nails, and those once-dominant canine teeth have become less pronounced. Out in the wilderness, we must use our ingenuity to reclaim our primal instincts, finding or creating shelters that will protect us from the elements.
Adapting to Nature’s Whims
When embarking on a day hike or running a quick check of the trapline, you probably aren't carrying a tent or portable shelter. But fear not! We've got you covered with some practical, time-tested shelter solutions you can build on the fly.
Over-Hangs
One of the easiest—and earliest—shelters adapted by humans is a simple over-hang. Rock outcrops, angled fallen trees, or spaces under thick pines provide quick cover when Mother Nature decides to open up with wind, snow, or rain. Staying for more than a night? Enhance your shelter with downed logs or branches for walls or windbreaks, and add debris for extra protection. A well-placed fire reflector made from rocks or logs can amplify the warmth of your fire.
Lean-to
The lean-to is a classic go-to for its speed and simplicity. Just tie a ridge pole or line between two trees, then lean branches and debris against it to form a windbreak and quick shelter. This minimalist structure provides immediate protection with minimal effort.
Tree Pit
The space directly beneath a conifer can be an excellent natural shelter. Scrape away debris from the base, creating a ring that serves as a windbreak and retains warmth. If snow is present, a wall base can be formed initially, then built up with snow from outside the pit. Caution is advised when building fires near this type of shelter due to its confined nature.
Debris Hut
Want warmth and comfort without a fire? Build a debris hut by constructing a framework of branches and piling leaves and debris on top. Ensure a good thickness for insulation. This shelter traps body heat, keeping you warm even when conditions outside are harsh.
Snow Pile Hut
A childhood favorite for many, the snow pile hut involves creating a 6-foot diameter mound of snow. After letting it settle for 24 hours, use sticks to ensure consistent wall thickness as you excavate a hollow interior. Line the floor with conifer branches to ward off meltwater and craft a door from a poncho filled with snow. Remember to create air holes for ventilation, and a single candle can provide surprising warmth.
Plow Point
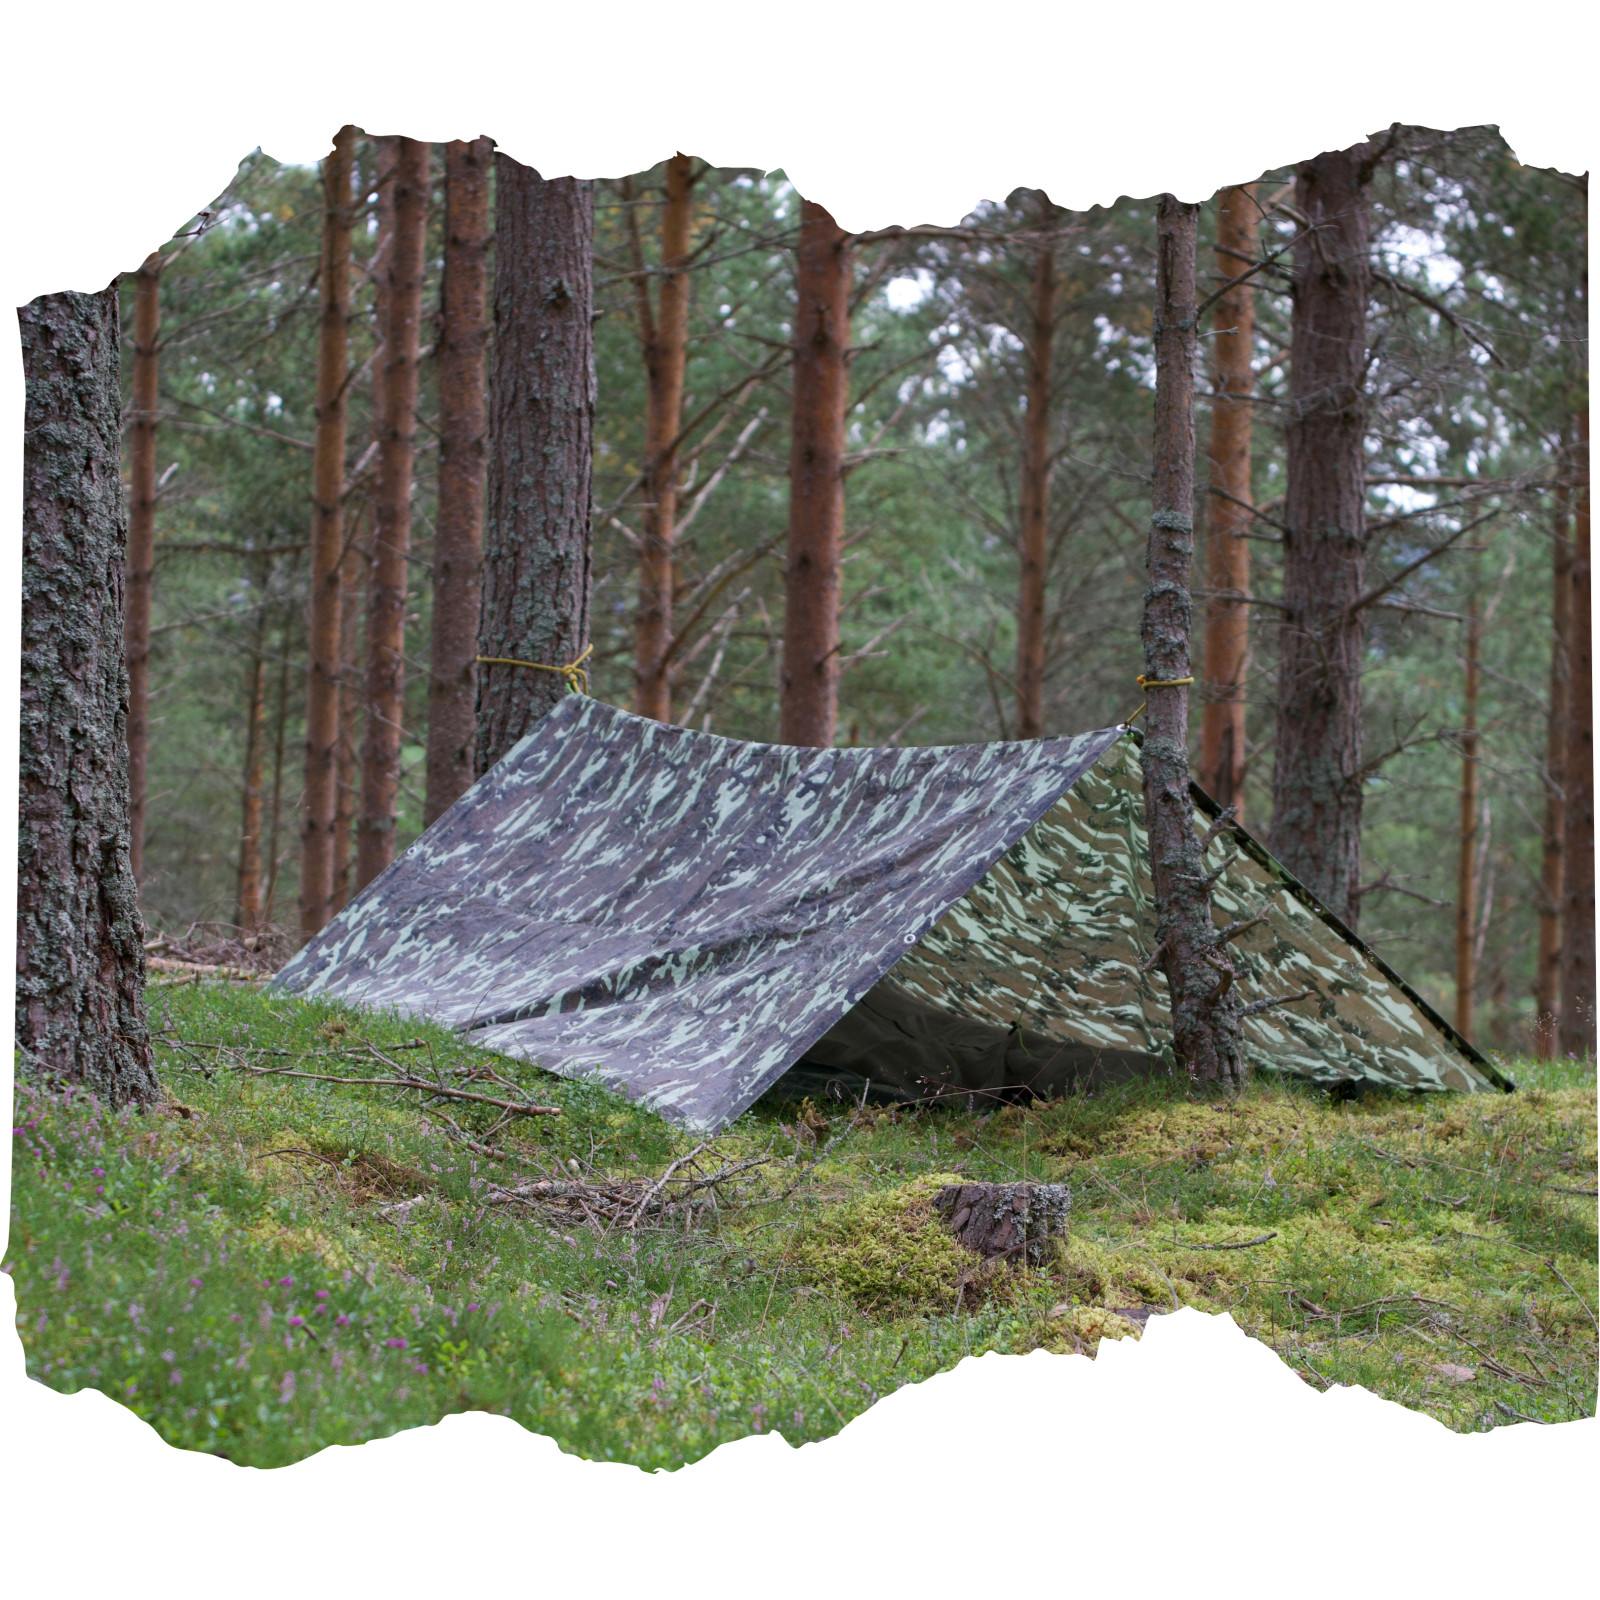
If you're lucky enough to have a tarp or space blanket in your survival kit, the plow point shelter is a great option. Tie one corner to an upright pole and spread the rest outward, securing the edges against prevailing winds. Simple yet effective, this setup offers quick protection.
Navigating Industry Challenges
The challenge many survivalists face is balancing the need for lightweight carry solutions with the unpredictability of nature. In the absence of modern gear, knowledge becomes your greatest tool. These shelters utilize minimal supplies and leverage your surroundings, making them accessible regardless of what you have on hand.
The Call to Community
Ready to deepen your understanding of outdoor survival? Join our community for more insights, discussions, and expert advice on thriving in nature's vast and varied wilderness. Together, we'll explore the skills necessary to not just survive, but truly master the art of wilderness living.
There's a whole world waiting to be discovered—so pack your gear, hone your skills, and step confidently into the wild. Join us today!
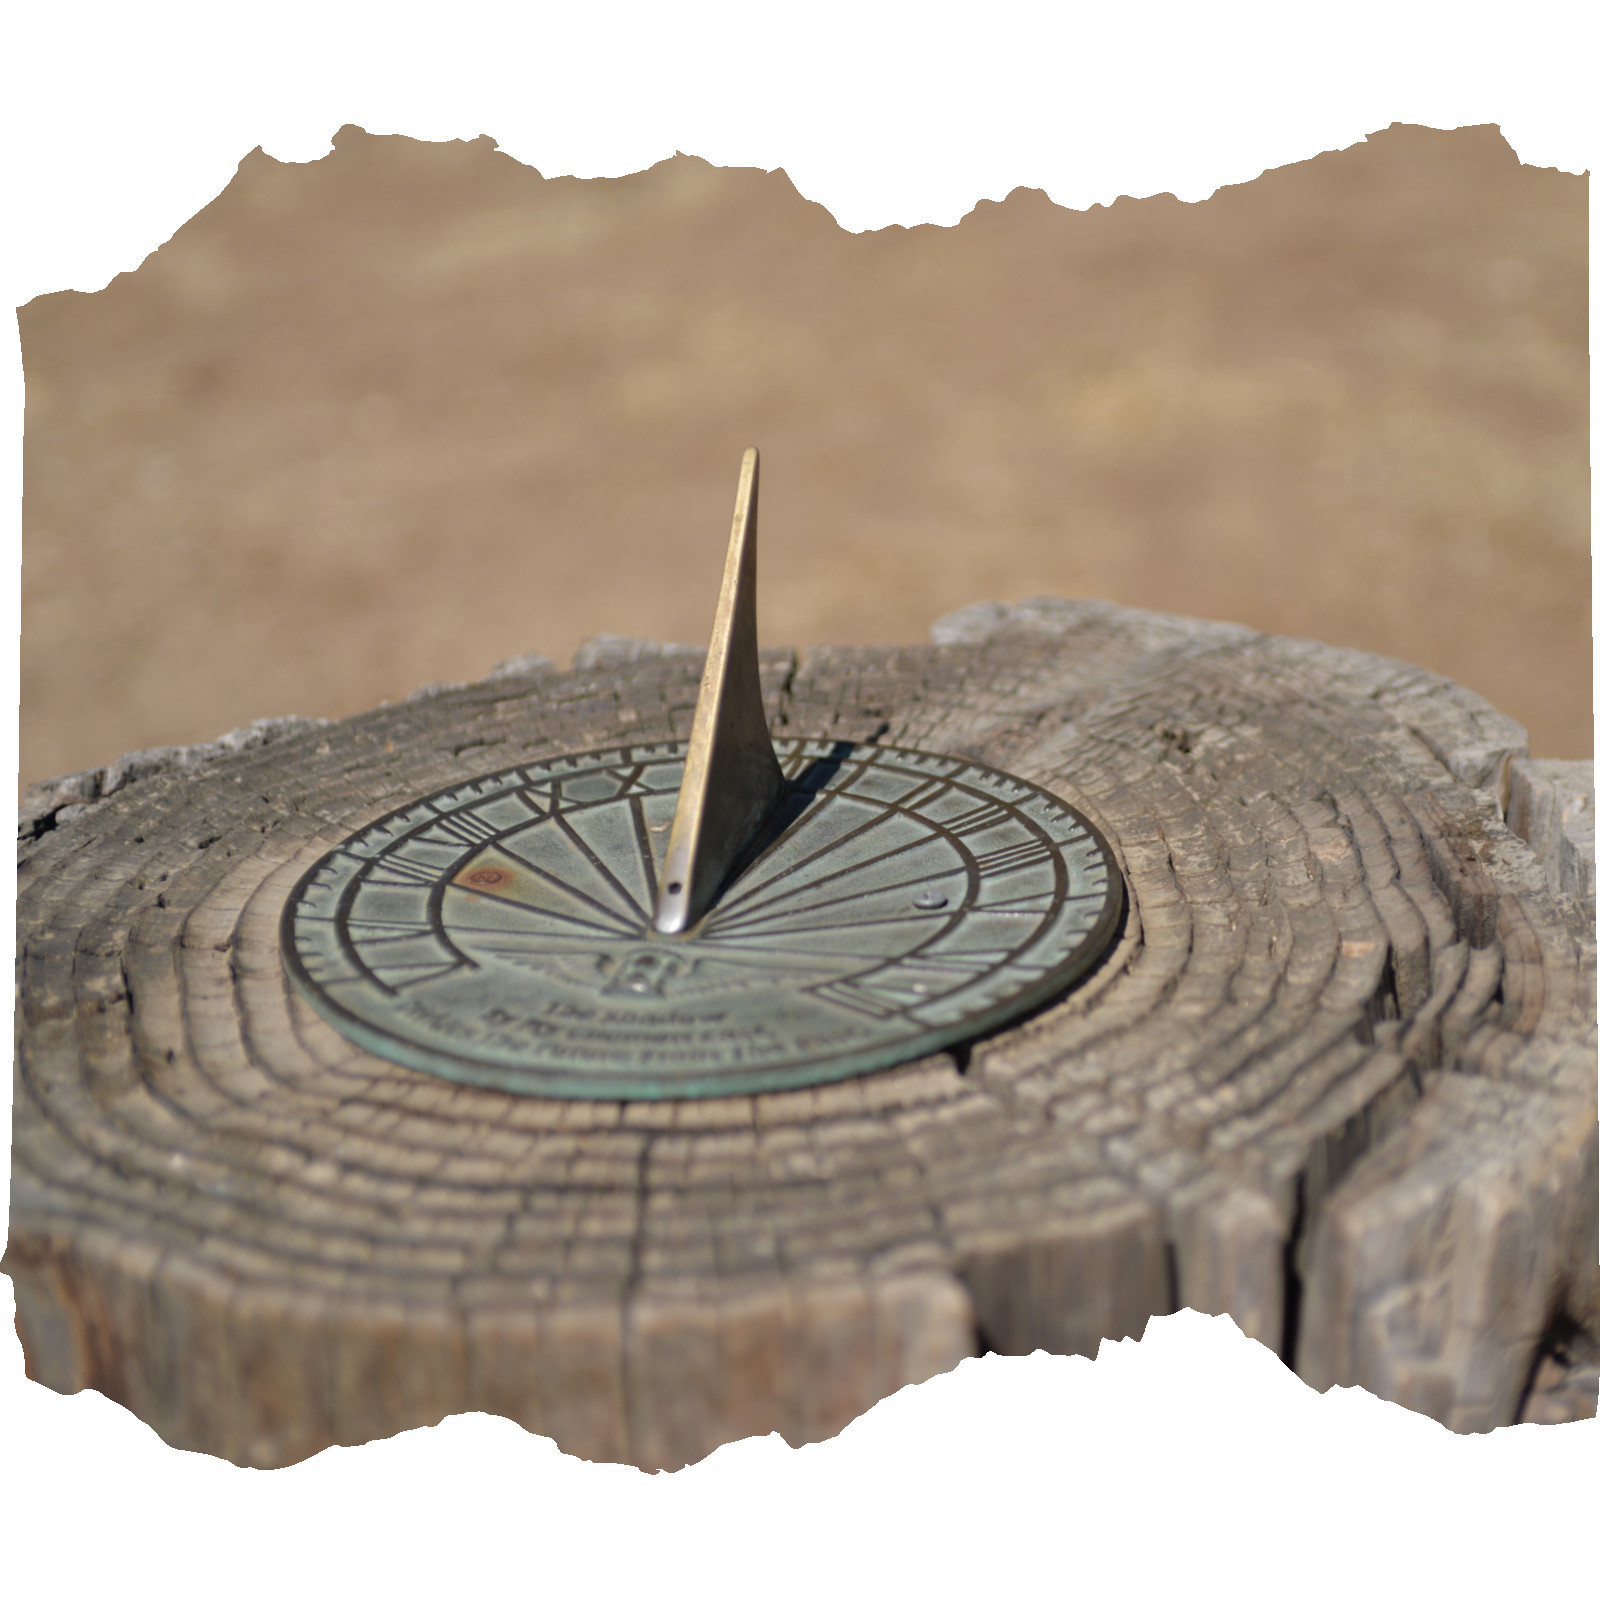
Have you ever found yourself in the great outdoors, surrounded by nature's beauty, only to realize you've forgotten your compass? For many, this scenario might induce panic, but for the seasoned adventurer, it presents an opportunity to hone the art of natural navigation.
Rediscovering Cardinal Directions
It's astonishing how many people struggle to identify cardinal directions when they leave their familiar surroundings. Yet, understanding these basic directions—North, East, South, and West—is the foundation of good navigation. Growing up near the Sangre De Cristo Mountains, I learned that if the mountains are on your left, you're facing north. Such simple observations can be lifesavers when technology fails.
Sun as a Reliable Guide
In the northern hemisphere, the sun offers a dependable guide as it rises in the east and sets in the west. At noon, it's typically at its highest point in the sky, providing a clear indication of direction. While this method works wonders in the contiguous United States, adjustments are necessary in regions like Alaska, where the sun's path is less predictable.
Stay Aware of Your Surroundings
Awareness of your surroundings is crucial. Even in dense forests, landmarks like peaks or unique rock formations can guide you. Always take mental snapshots of your route, as these visual cues will be invaluable when retracing your steps.
Analog Watches as Navigation Tools
In today's digital world, analog watches may seem outdated, but they can be valuable navigation tools. By aligning your watch's hands with the sun and using a landmark as a reference, you can create a makeshift compass to guide your path.
Utilizing Natural and Manmade Aids
Before heading out, familiarize yourself with the terrain using a topographic map. Natural features like rivers or manmade structures such as fences and railroads can serve as reliable guides. These aids can help you maintain your course and reach your destination safely.
Conclusion
Navigating without a compass comes down to awareness, resourcefulness, and a willingness to trust in nature's signals. By mastering these skills, outdoor enthusiasts can turn potential setbacks into opportunities for adventure.
Ready to elevate your outdoor skills? Join our community for more survival insights and connect with fellow adventurers who share your passion for the wild. Together, let's explore new horizons and conquer the unknown.
When we talk about bushcraft, bugging out, or SHTF (S**t Hits The Fan) scenarios, one core principle stands out—survival. Mastering basic survival skills ups your odds of success in any challenging situation, whether you're exploring the wilderness or preparing for emergencies.
Basic Gear for Survival
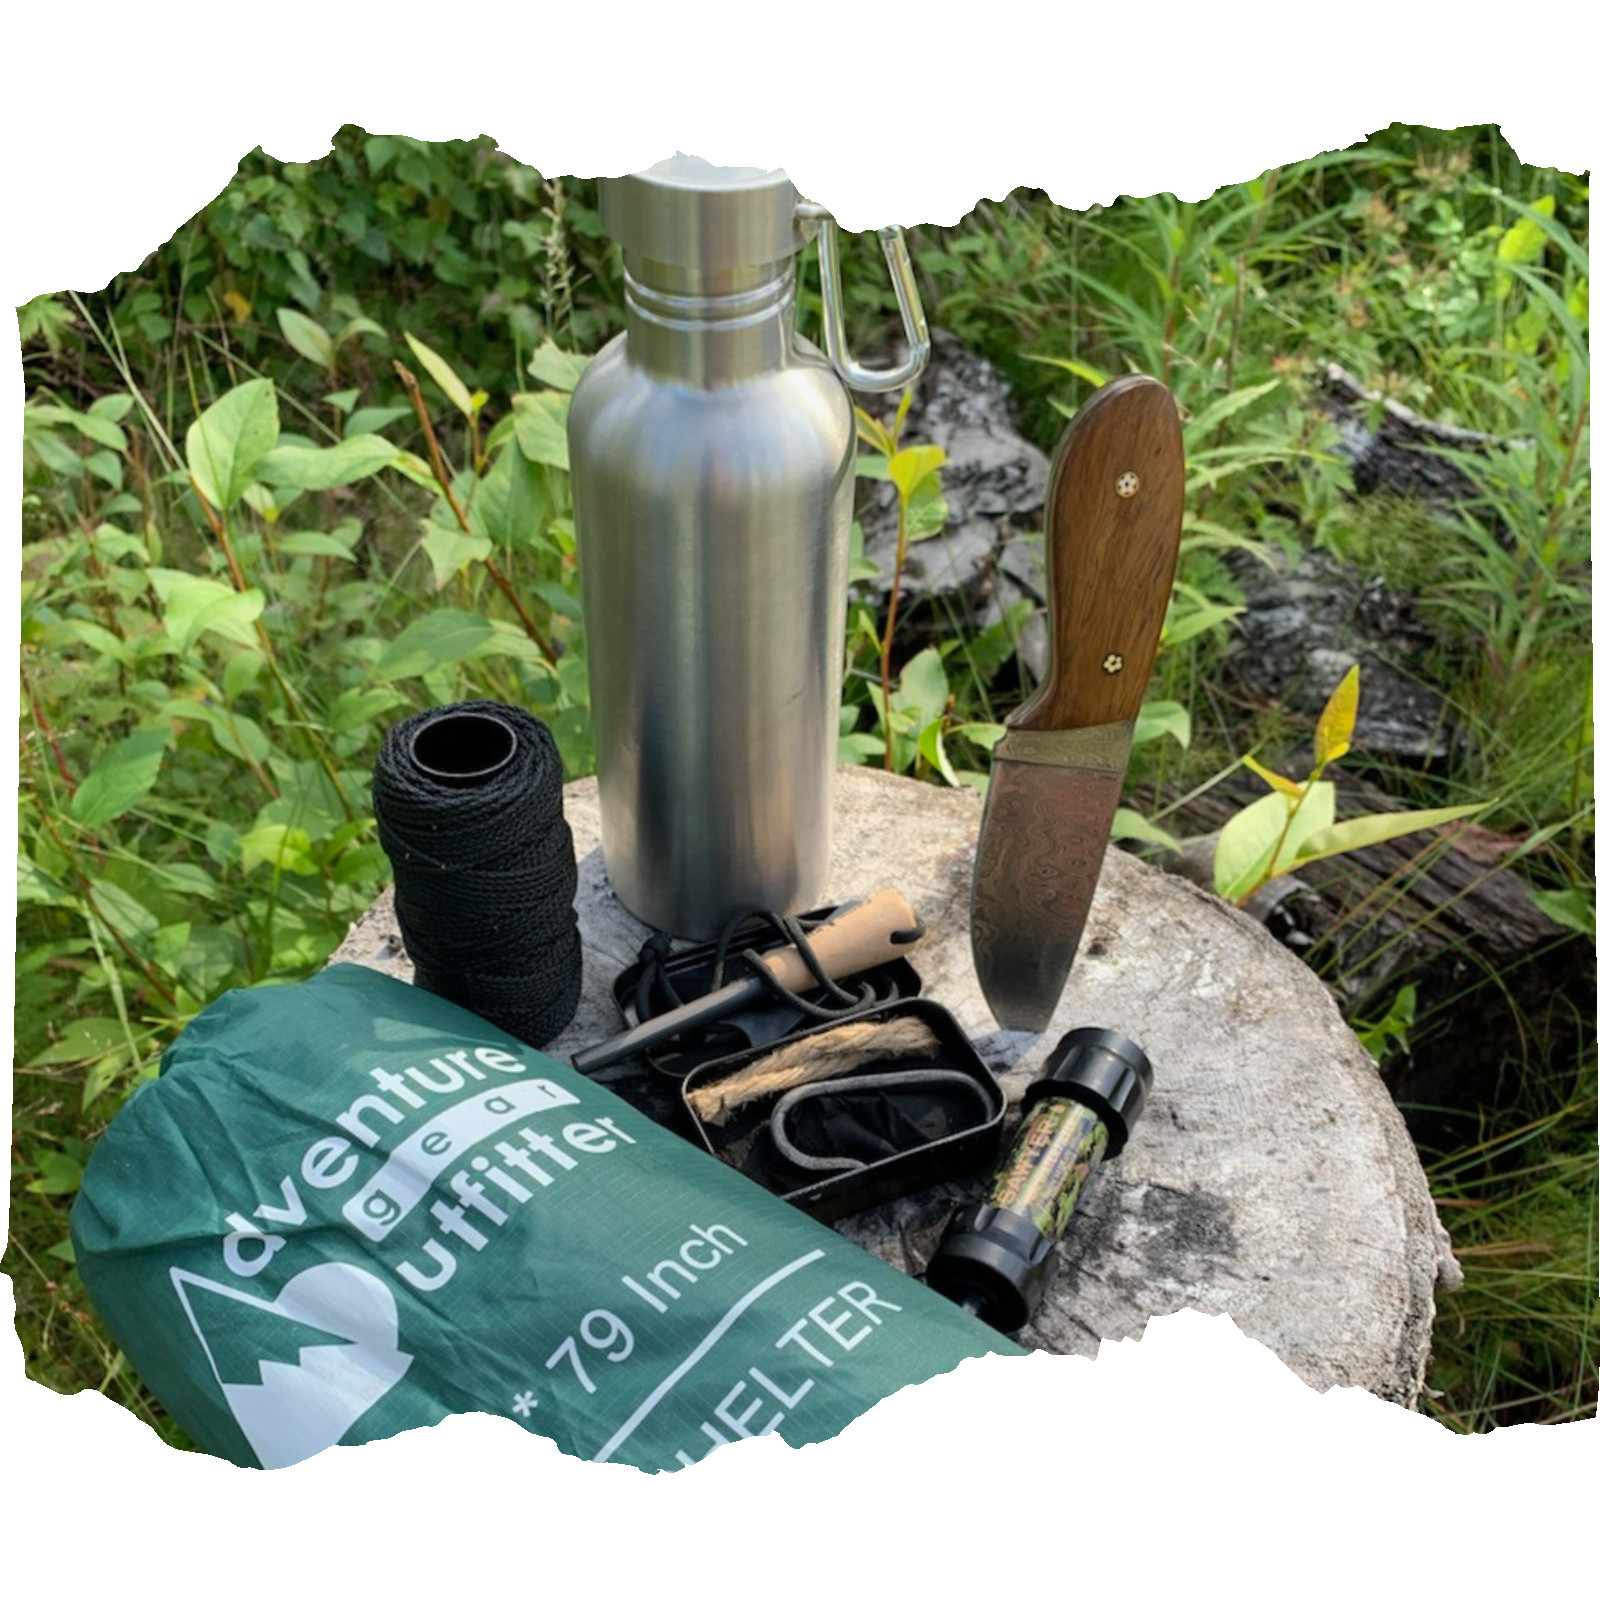
To survive, you need the right gear. Here are the essentials:
Knife
A good quality knife is indispensable. Look for a sturdy, full-tang knife made from high carbon steel with a blade length between 4.5” and 6” and a 90-degree spine. This tool can perform multiple tasks, from fashioning other tools to cutting rope and preparing food.
Water
You can survive only about three days without water. Even mild dehydration can cause issues like headaches, lethargy, and mental confusion. Prioritize your ability to carry, locate, and purify water. Know the potential water sources in your area, and always have a purification method ready. Boiling water for 10 minutes is the safest bet, but modern filters, purification tablets, and even chlorine bleach or iodine work well. Ensure you have a storage method like a water bottle or hydration pack.
Fire
Fire is essential for sterilizing water, cooking food, staying warm, signaling for help, and boosting morale. Practice multiple fire-making techniques and keep at least three different methods in your gear. This can include a butane lighter, storm matches, ferro rods, flint & steel, magnifying lenses, and chemical fire starters. Always carry dry tinder and some form of fire extender.
Shelter/Cover
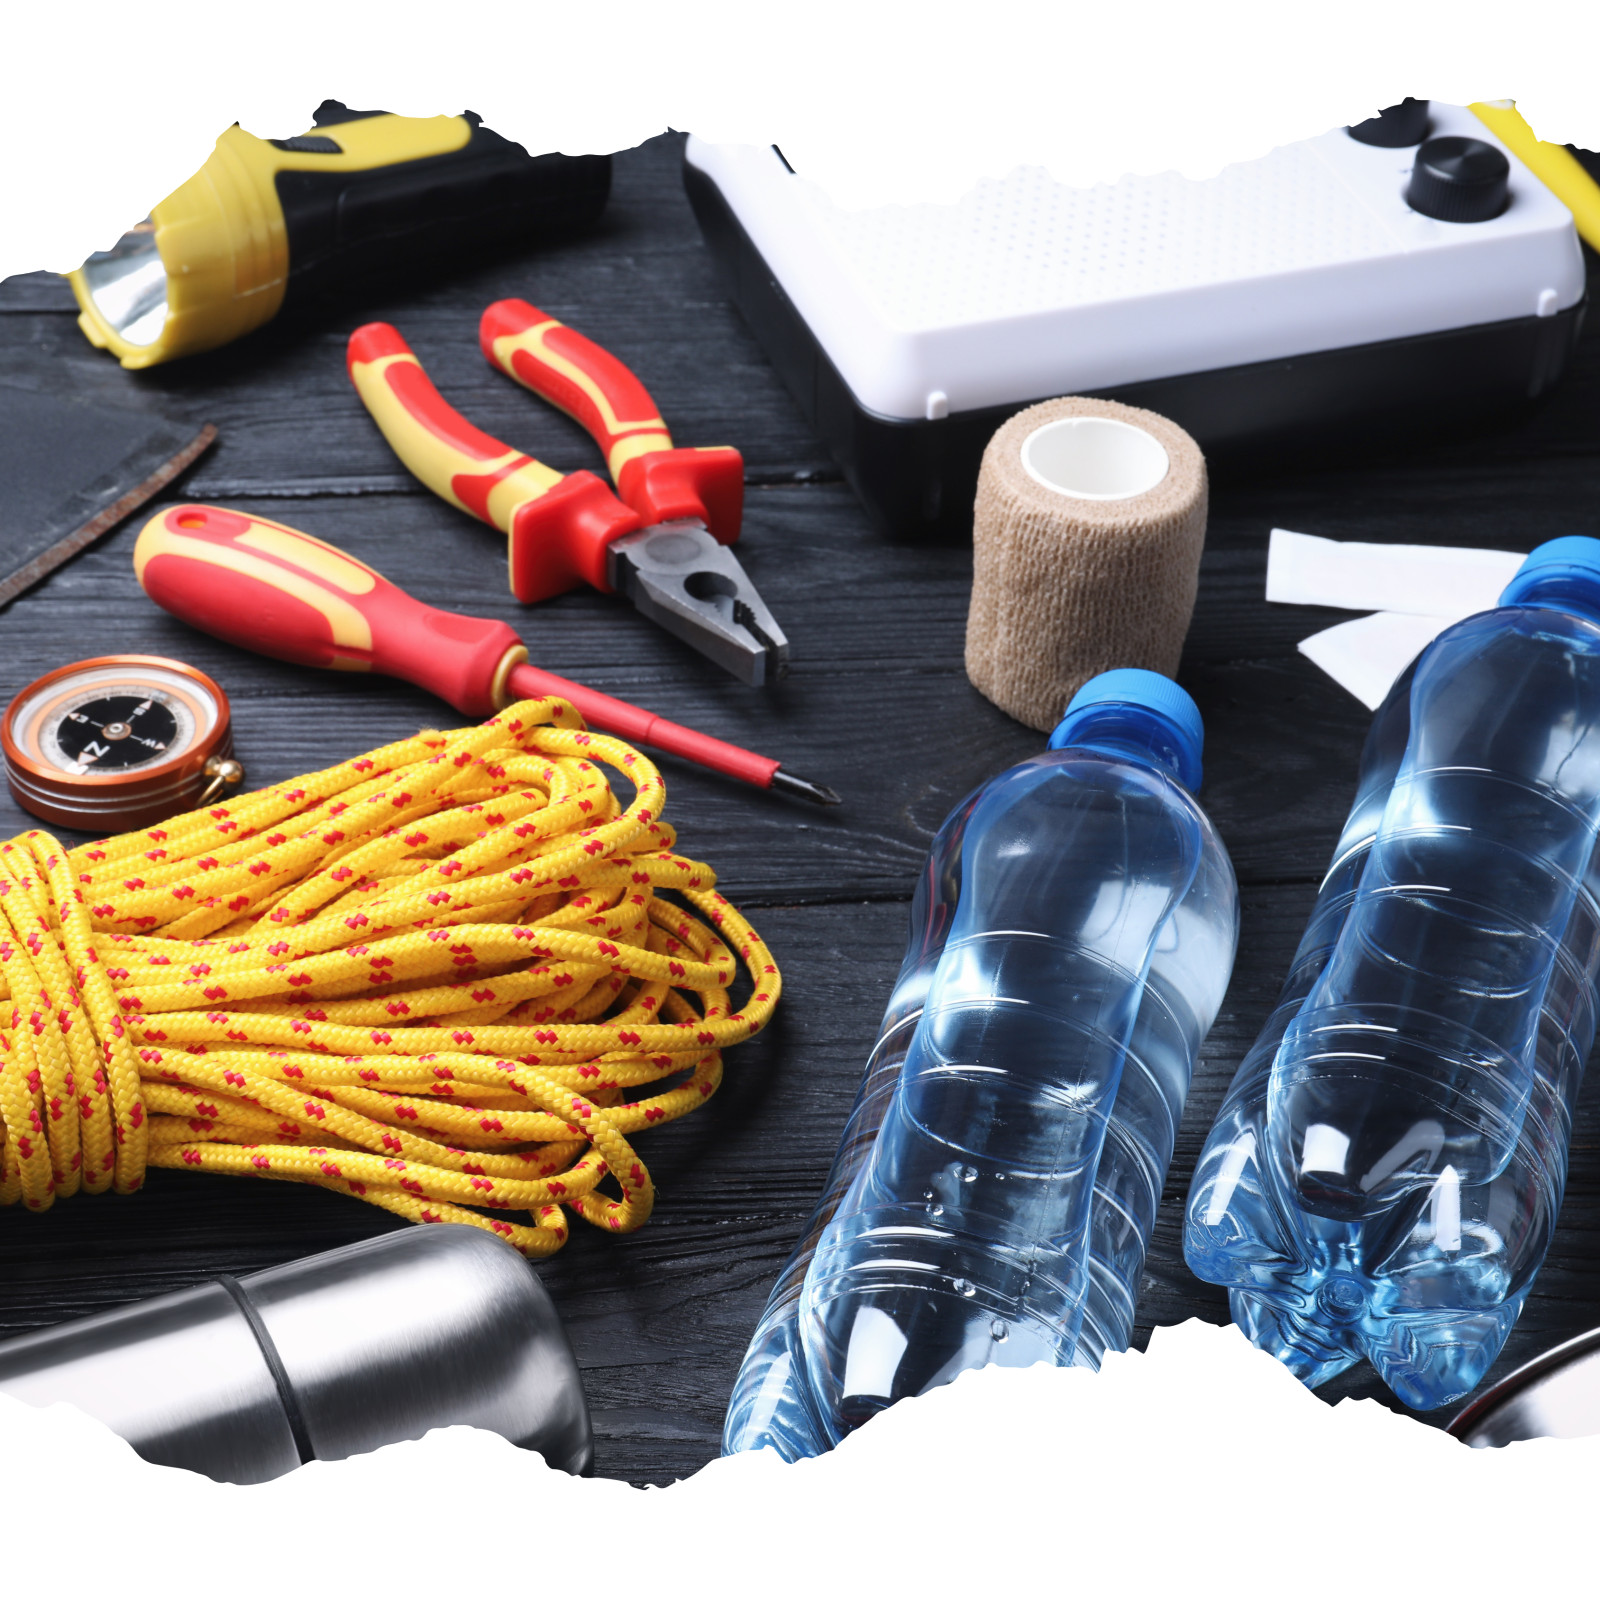
Your first line of shelter is the clothing you wear. Every survival kit should include some form of tarping material, like a mylar space blanket, and cordage. Familiarize yourself with the terrain and flora in your area, and practice building shelters using those materials. From simple lean-tos and tree pits to more involved snow caves or debris huts, getting out of the elements is crucial for both physical security and comfort.
Mastering the 5 Cs of Survival
To ensure you're well-prepared, always remember the 5 Cs of survival:
- Cutting Tools - Essential for a wide variety of tasks.
- Combustion Devices - For creating fire.
- Cover - To protect you from the elements.
- Container - To carry and store water.
- Cordage - Useful for building shelters and securing loads.
Call to Action
Ready to take your survival skills to the next level? Join Brandon's course on building go bags, Bag It Up, where you'll get comprehensive guides on creating Get Home, Bushcraft, and Hunting bags. These guides will help you prepare for any situation and become more self-reliant.
Sign up today and start mastering the art of survival! [Enroll in the Bag It Up Course]
In future articles, we'll break down each of these topics in more detail, providing you with in-depth discussions and practical tips. Stay tuned and stay prepared!


