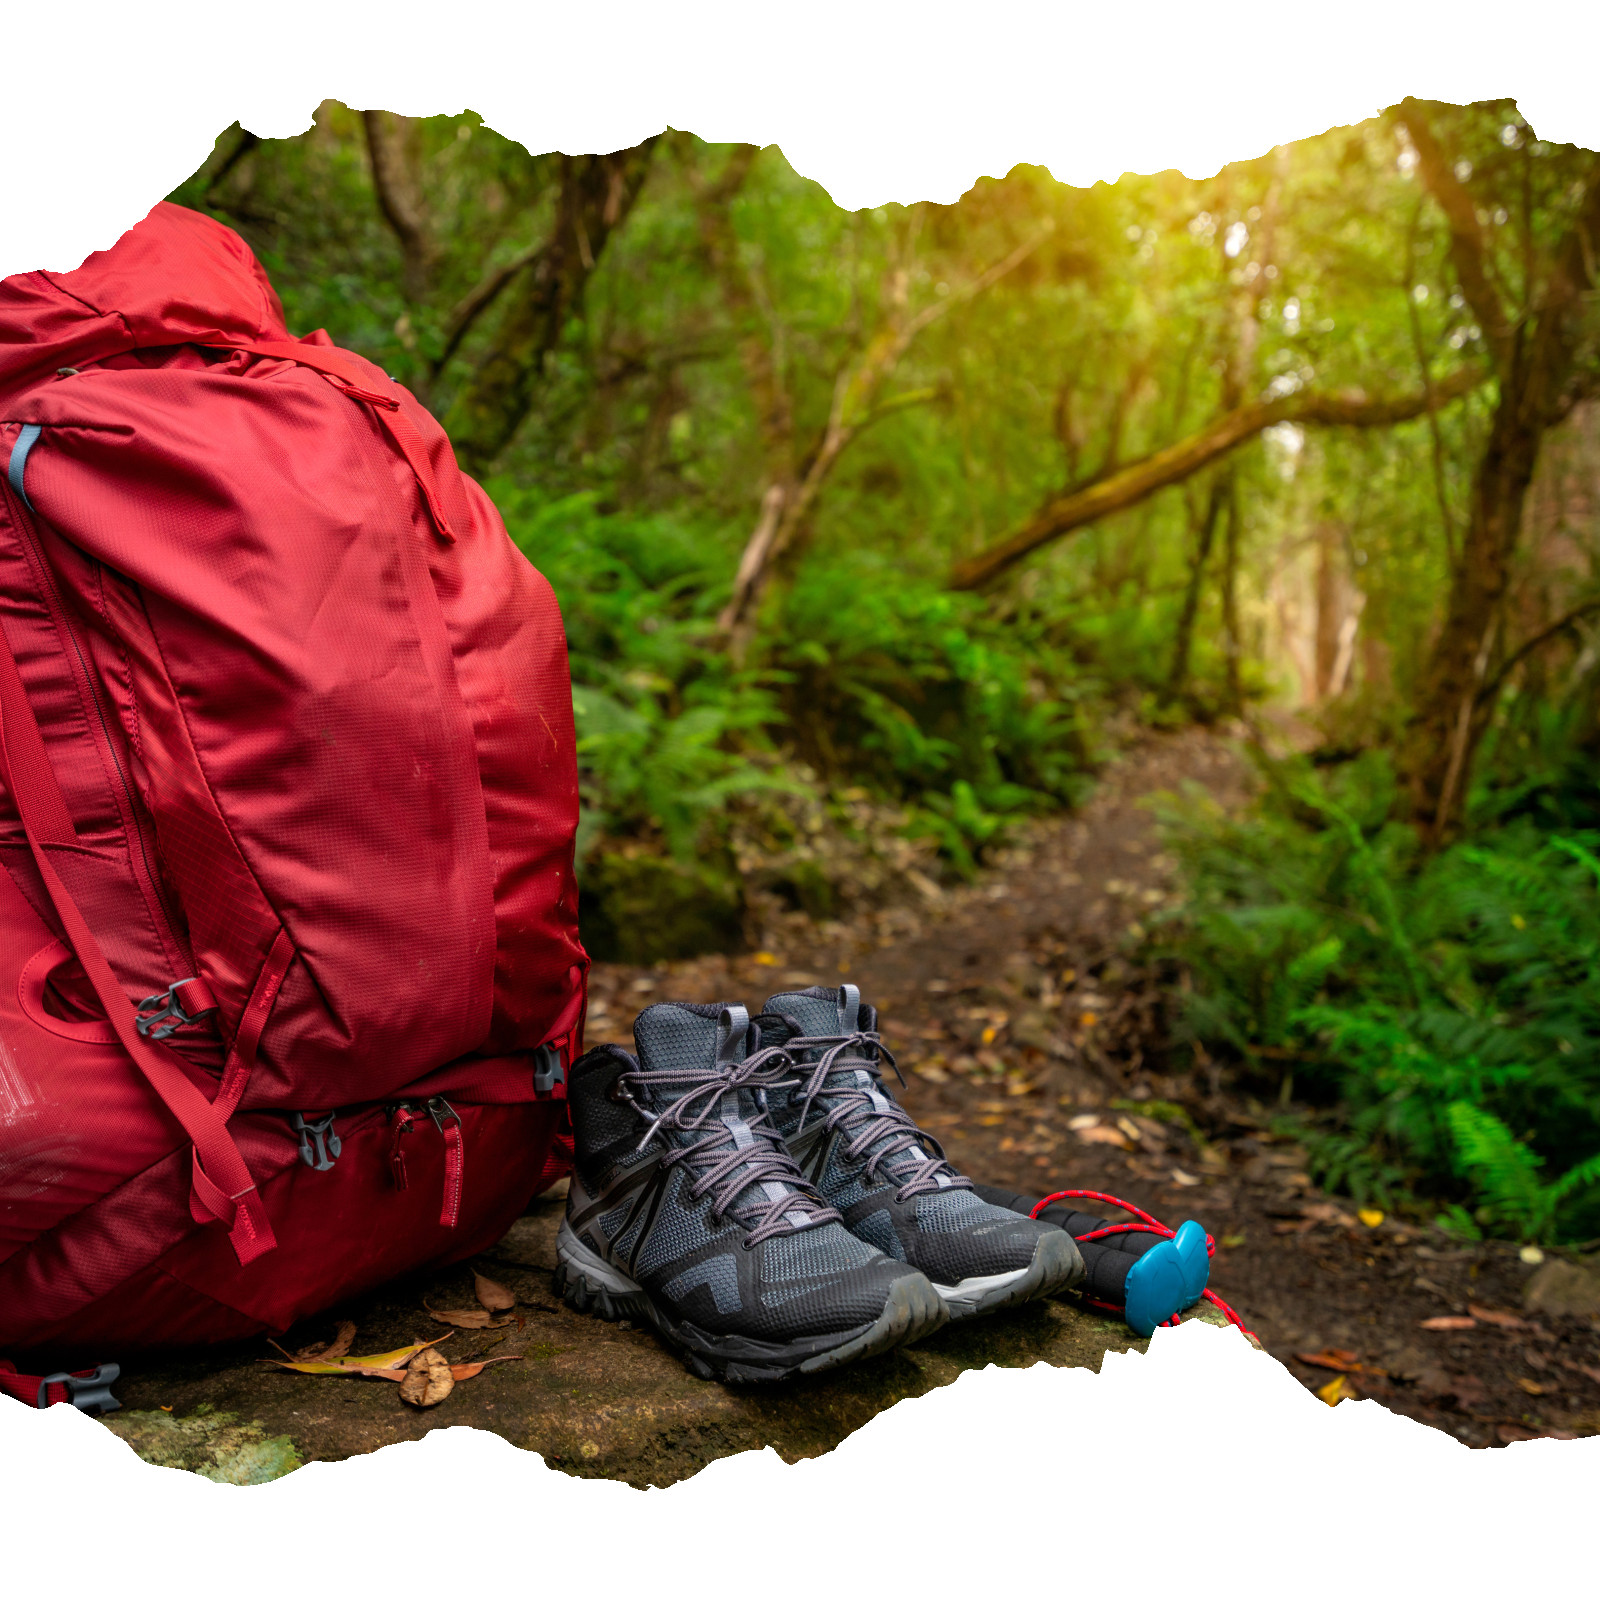
Ever wonder why some people seem naturally adept at survival skills while others struggle to start a campfire? That's because within each of us lies a reservoir of instinctual knowledge—call it genetic memory—that's just waiting for the right moment to shine. As outdoor and survival enthusiasts, it’s crucial to harness this potential in our children, empowering them with skills that won’t just occupy their time but could be life-saving.
The Hidden Genius of Instinctual Knowledge
Teaching basic survival skills to kids doesn't have to be overwhelming. Remember when you watched your toddler grab a handful of butter? Their body knew it needed fat. Similarly, the instinct to survive is buried deep within us, waiting for a spark. The key lies in igniting this instinctual wisdom without turning it into a chore.
Let's start simple. At the right age, introduce your kids to the concept of fire not as an object of fear, but as a tool humans have harnessed for centuries. Light a birthday candle together and explain the magic of combustion. This isn’t just about survival; it’s about understanding human innovation.
Water Wisdom and the ‘Whoa’ Factor
Water—a seemingly familiar substance—harbors the secrets of survival. Once kids understand its vital role, the quest for clean water becomes not just educational, but fun. Show them how contamination works using food coloring; watch their eyes widen with understanding as the colors mix. Build a DIY filter and distill water together, turning a necessity into a fascinating 'Whoa' moment.
Mastering the Art of Shelter through Games
Survival is often about finding shelter, a game we've naturally mastered since childhood. Remember playing Hide and Seek? That was more than just fun—it was survival training. After each game, discuss why specific spots were chosen. Did they provide warmth? Were they hidden from sight? This primal, instinctual game teaches kids to evaluate their environment as a potential haven.
Navigating the World without a Compass
Yes, classic sayings like "Never Eat Soggy Worms" can be the gateway to essential survival skills like navigation. Determining cardinal directions by observing the sun or using landmarks can be an exciting discovery for children. My own granddaughter learned these skills at just eight years old, impressing us all with her grasp of coordinates from landmarks and flight experiences with her uncle. Such moments not only educate but enthuse.
Challenges and Opportunities in Modern Preparedness
The biggest challenge facing parents today is the overwhelming nature of prepping for survival scenarios. Many feel unprepared themselves, leading to hesitation in educating their children. Additionally, the fast-paced digital age can divert attention away from practical, hands-on learning.
However, this can be turned into an opportunity. Modern technology offers interactive ways to teach survival skills, ensuring that these essentials are learned in an engaging manner. By taking survival lessons outdoors, parents can reinforce family bonds and instill a sense of responsibility in young ones.
A Call to Action for Adventure-Driven Families
It's time to rewind life's soundtrack and listen to those hidden primal beats. Equip your kids with the know-how to not only survive but thrive in various scenarios. The lessons they learn today in refuge and resourcefulness can shape their confidence tomorrow.
Start today. Gather them around, share a story about survival from your own adventures, and show them how the age-old instincts we're all born with can be honed into expertise.
The world has changed, but our instincts remain steadfast. Let's start teaching survival skills to our children—because the knowledge of ages is already within them, waiting to be unlocked. Your adventure in raising the next generation of resilient explorers begins now.
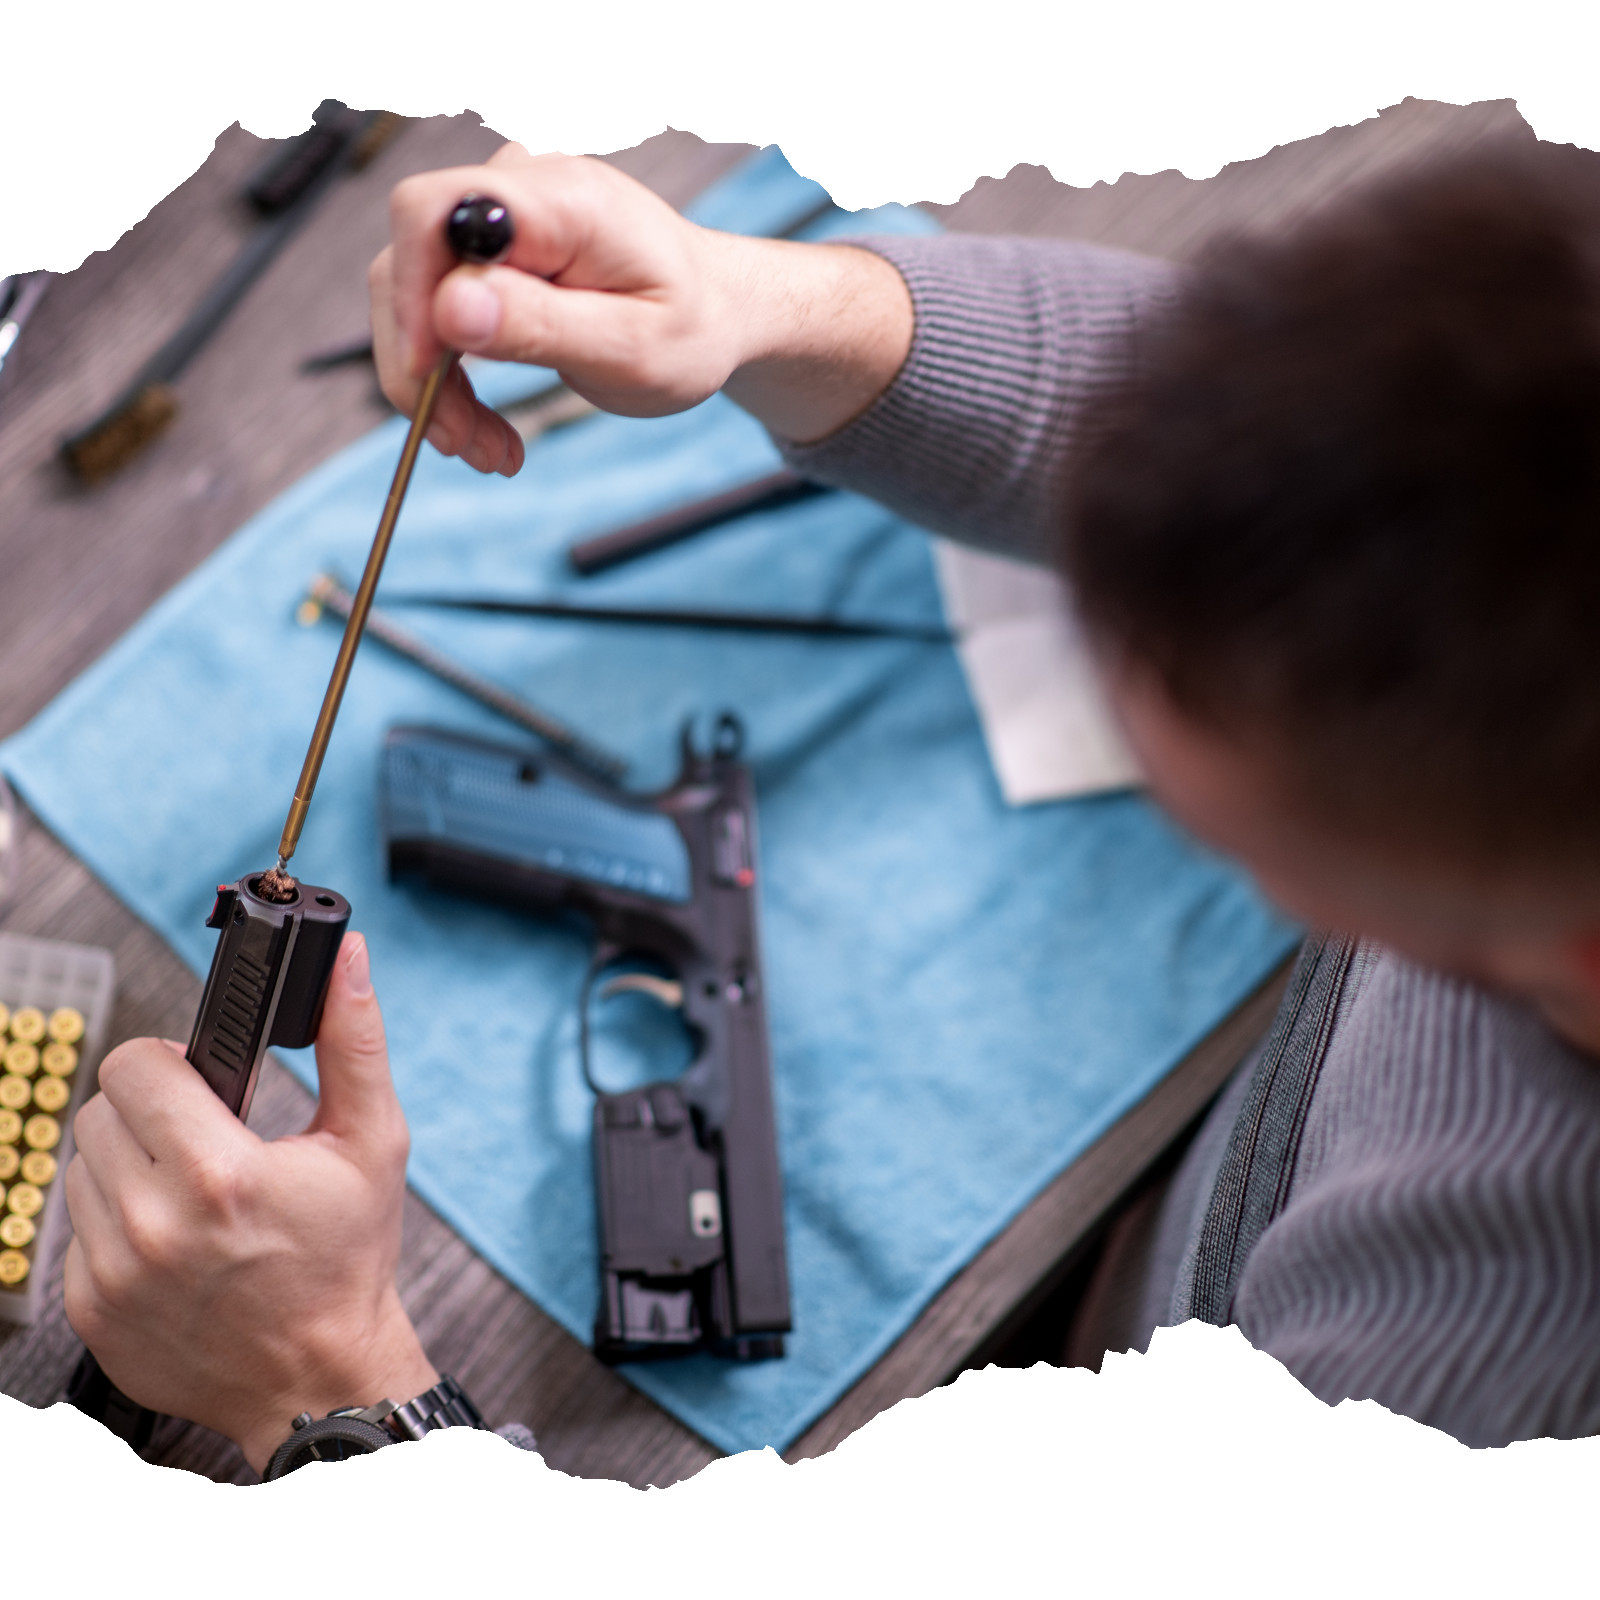
How well do you really know your firearm? For enthusiasts and novices alike, it's easy to get caught up in the thrill of shooting or the allure of adding another piece to your collection. Yet, reliable performance doesn't come from mere possession—it comes from intimate familiarity and diligent maintenance.
Every firearm enthusiast understands that maintenance goes beyond aesthetics; it's about safety and reliability. Whether it's a rifle, shotgun, revolver, or pistol, keeping your firearm in top condition is essential to ensure dependable performance every time you pull the trigger.
Understanding the Basics
The first step in maintaining your firearm is understanding it. You don't need to be a master gunsmith to keep your firearm in great shape. With a simple arsenal of tools—a cleaning rod, bore brush, solvent, patches, gun oil, a rag, and a few drivers—you can perform essential maintenance that significantly extends your firearm's lifespan and reliability.
The philosophy of gun ownership, particularly for instructors like myself, is deeply rooted in the intimate knowledge of your tool. After all, the second task after purchasing should be getting familiar with its teardown procedure. Field stripping—a basic disassembly—is crucial for cleaning and lubricating key components.
Routine Maintenance Tips
Clean the Right Way
A simple but effective routine ensures your firearm remains reliable:
- Wipe Down After Exposure: If your gun is exposed to moisture or dust, wipe it down. This reduces corrosion risk and allows you to inspect for rust, dings, and misaligned sights.
- Regular Inspection: A quick visual inspection during cleaning can highlight potential issues—address them early to avoid bigger problems.
- Triple Check Safety: Always triple-check that your gun is unloaded before cleaning. Safety is paramount.
Step-by-Step Cleaning Process
- Field Strip: Break your firearm into its component parts. This procedure can differ slightly depending on the model. For semi-autos and rifles, start with the firing pin/extractor, then move to barrel/lug components, receiver, and finally slide.
- Clean Components: Use your bore brush and cleaning rod with solvent to scrub the barrel. Clean smaller components gently with patches soaked in solvent to remove dirt and residue.
- Lubrication: After cleaning, apply a thin coat of oil to all moving parts. Keep in mind that too much lubrication can attract dirt.
- Reassemble and Test: Once you’ve cleaned and lubricated, carefully reassemble your firearm and conduct a function test to ensure reliability.
Simplifying with Break-Opens
For those who prefer ease, single-shot break-open guns are a joy. They typically consist of three components (barrel, forend, receiver), making them straightforward to clean and maintain. The barrel can be scrubbed with soapy water, dried, and oiled – reminiscent of a simpler, black powder era.
WD40 – Friend or Foe?
Aim appropriately with products like WD40. While it serves well as a moisture displacer, using it as a lubricant is a no-go. It dries into a sticky residue that gums up moving parts. Stick to its intended use and follow with a suitable gun oil.
The Power of Knowledge
Understanding your firearm and maintaining it correctly does more than ensure a functional tool—it builds confidence and trust in your equipment. It shifts the conversation from "Do I need to clean my firearm?" to "How can I know my firearm better?"
Join our community of enthusiasts who share these values. Learn more expert tips, exchange experiences, and elevate your firearm expertise. Connect with us today for insights that keep you and your equipment at the top of your game.

Are You Really Ready? Emergency Preparedness for Apartment Dwellers
When disaster strikes, how ready are you to leave your apartment at a moment's notice? The reality is, most urban preppers and apartment dwellers overlook the unique challenges associated with emergency preparedness in confined spaces. But here's the hard truth—urban living doesn't exempt you from the necessity of being prepared. It merely requires a smarter approach.
Living in Limited Spaces
Apartment living is often a necessity rather than a choice, whether due to high housing costs in bustling cities or the convenience of smaller communities. I recall our move to Alaska, where a compact two-bedroom apartment was our home, but it came with limitations—only one of our dogs could stay, and space for my prepping gear was scarce. Despite these constraints, readiness remained paramount.
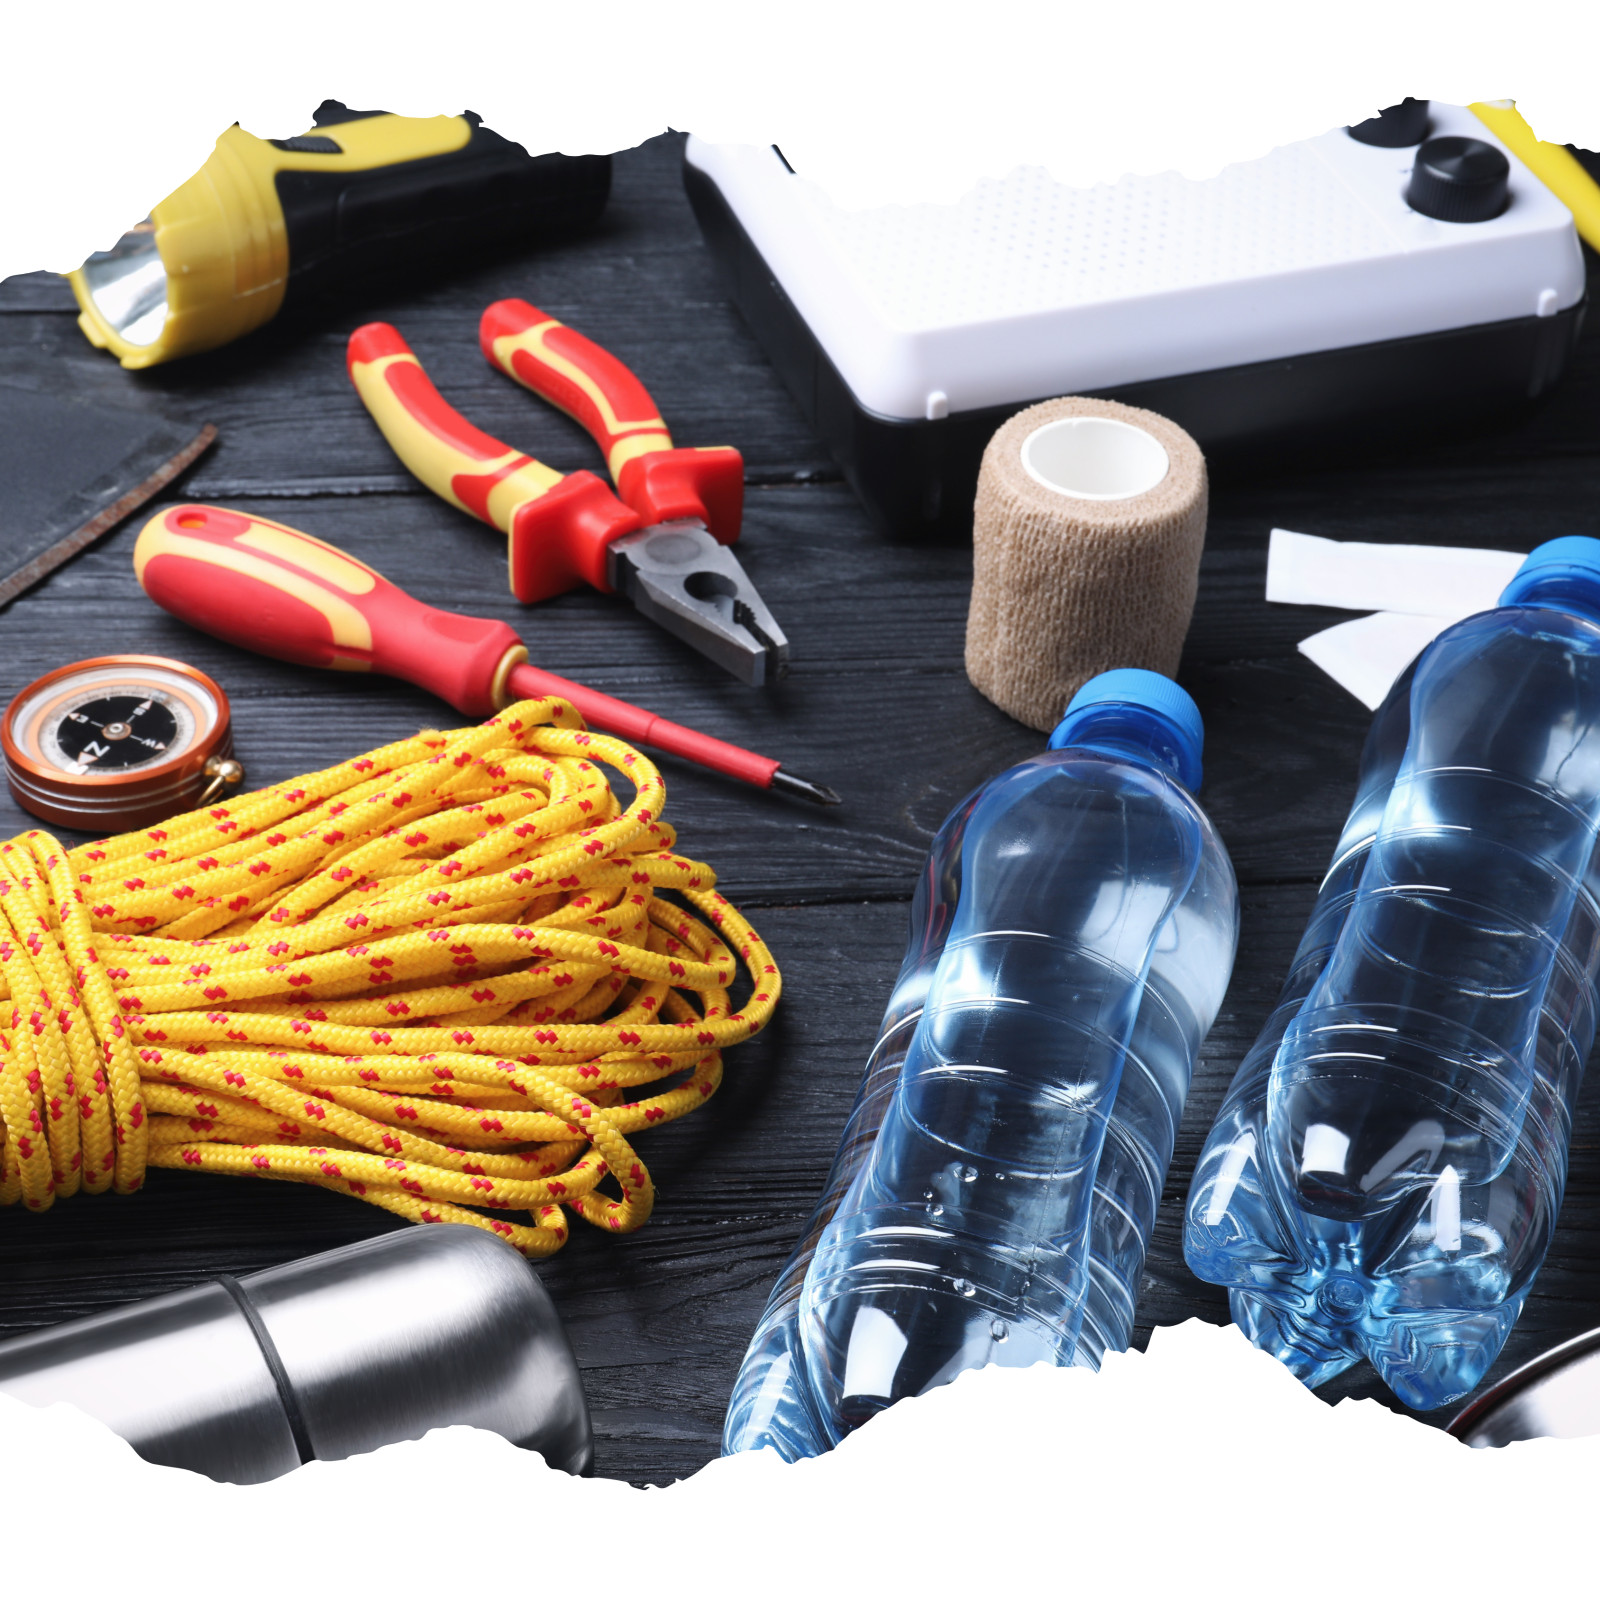
The key is to utilize your space efficiently. Start with the essentials. Bug Out Bags should be ready for you and your family (including your pets—yes, even Otis had his own kit). Stock up on 72 hours' worth of food and water, and keep your long guns and sidearms accessible. A pro tip? Use storage totes for bulkier items like blankets and non-perishables. These can be discreetly stowed under beds or in closets, away from prying eyes.
Overcoming Storage and Financial Constraints
Space isn’t the only challenge—tight budgets are a reality for many apartment dwellers. But emergency preparedness doesn’t have to be financially draining. Building your supplies gradually is key. Pick up an extra bag of rice or canned meats during routine grocery runs. Bottled water is cheap and inconspicuous. Ammo prices are steep, so consider purchasing a box of practice rounds monthly and duty-grade ammo every other month.
Remember, preparedness is a marathon, not a sprint. Start with what you have and build slowly from there. This strategy not only eases the financial burden but also ensures you’re steadily working towards a secure state of readiness.
The Importance of Observance
Being observant of your surroundings is crucial. Take note of your neighbors' routines to minimize drawing attention when bringing in supplies. This isn’t about paranoia; it’s about discretion and maintaining your privacy.
Furthermore, be aware of building layouts and exits. Familiarize yourself with emergency evacuation routes and procedures. In a crisis, knowing the quickest way out can make all the difference.
Building Community Among Preppers
Beyond individual efforts, fostering a community among fellow preppers can be invaluable. Sharing knowledge, resources, and encouragement helps everyone prepare more effectively. Engaging with others can offer fresh perspectives on overcoming space and budget challenges.
Conclusion
Living in an apartment doesn’t have to mean sacrificing your preparedness. With thoughtful organization, gradual accumulation of supplies, and a keen sense of awareness, you can be just as ready as someone with a basement full of gear.
Are you an apartment prepper with tips to share? Join the conversation and drop your insights in the comments below. Let's learn from each other and bolster our readiness together.

Are You Prepared to Drink Dirty Water? The Truth About Wilderness Survival
Survivalists and preppers know the drill—prepare for the worst and hope for the best. But when you're out in the wilderness, one thing is certain, water is not something you can compromise on. It's time to get serious about purifying water because, frankly, not all that glitters is gold—or drinkable.
The Unforgiving Rule of Threes
Here's a stark reminder of nature's unyielding laws:
- Three minutes without air and you're done.
- Three days without water, and you might as well be cactus fodder.
- Three weeks with no food, and you'll find yourself in a most unfortunate situation.
Water is the linchpin of survival, the most crucial resource for life. But before you go guzzling from that sparkling mountain stream, remember this—a clear stream does not guarantee safe drinking. Enter the sneaky and dreadful culprit, biological hazards, ready to turn your survival dream into a nightmare.
The Hidden Dangers
Even the clearest water sources can harbor pathogens like Giardia (hello, Beaver Fever!). Anyone who's been there will tell you, it's a trip to the digestive underworld you don't want.
Boiling—The Tried and True Method
Boiling water for at least 10 minutes is a surefire way to kill bacteria and parasites. But remember, boiling doesn't filter out particulates or improve clarity. After all, who wants to drink what looks like swamp stew?
Build Your Own Filter
If you're channeling your inner MacGyver, construct a simple filter using layers:
- Bottom Layer: Charcoal and sand
- Next Layer: Pebbles
- Top Layer: Grass and leaves
This DIY method clears out larger debris. Follow it with boiling, and you're on your way to safer hydration.
Nature’s Purification Tools
Winter's no excuse for dehydration. Melt clean snow in a bush pot with added water to prevent scorching, or use the fire-pendulum method—tie snow in a sleeve, hang it above your fire, and gather the drips.
Rain or dew collection from your shelter can be even cleaner than river water, sparing you the risk of pathogens.
Arm Yourself with Modern Solutions
Regardless of your prowess in survival skills, carrying purification tablets or iodine is non-negotiable. Even with a commercial water filter in tow, these tablets might be your last line of defense.
Join the Ranks of the Prepared
Don’t leave your survival to chance. Join our community of like-minded, intrepid adventurers and gain access to more expert tips and insights. Equip yourself with the knowledge and tools to face whatever Mother Nature throws your way—because when it comes down to it, survival is not just a skill. It's an art.
Act now, and be ready for anything. Join us today!
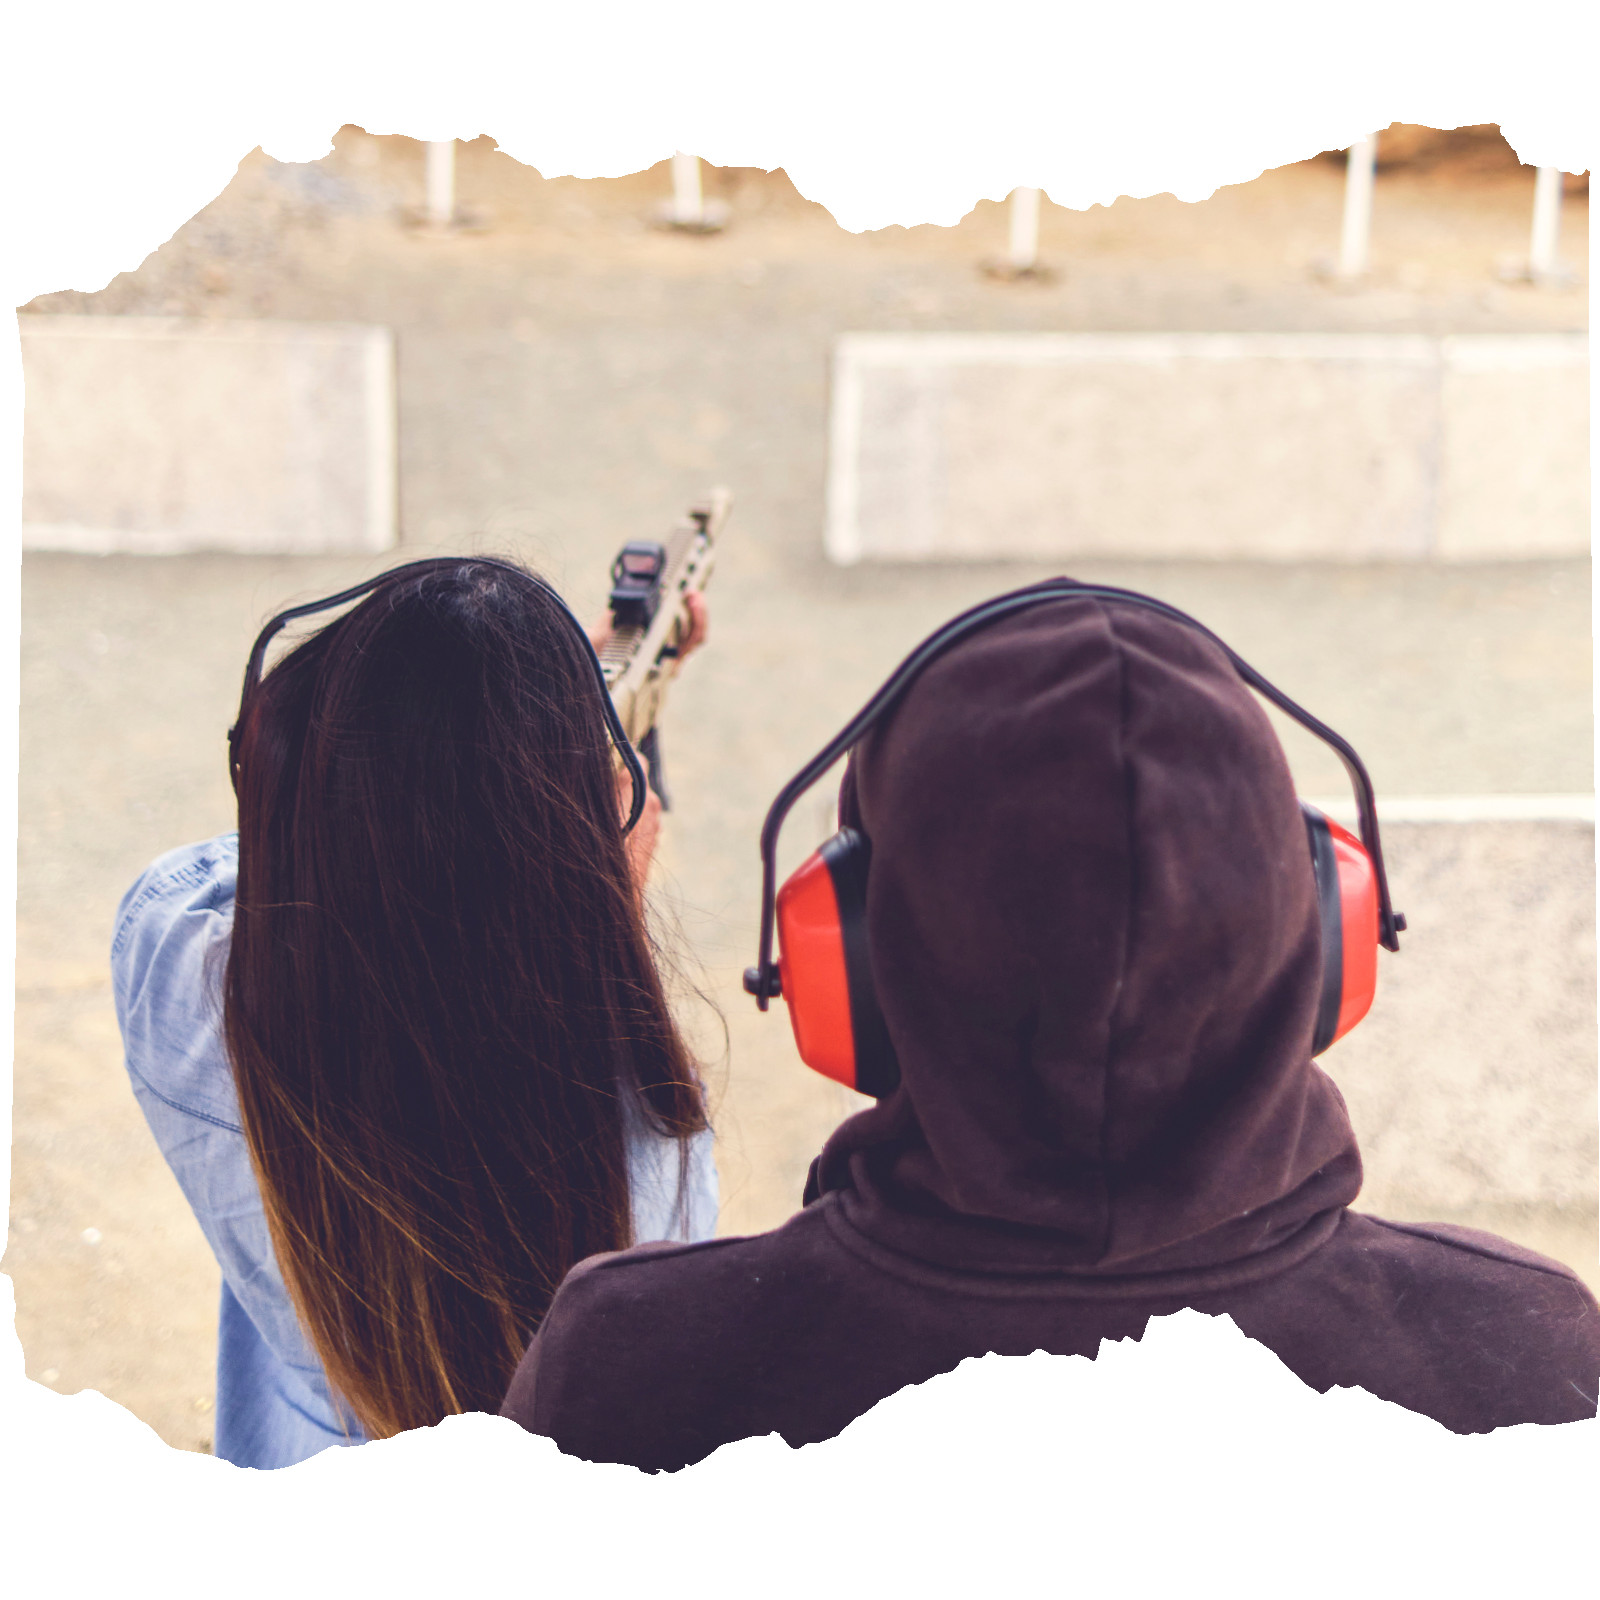
Are you ready to make your first firearm purchase but feeling overwhelmed by the options? You're not alone. Selecting the right firearm is a significant decision, especially for first-time gun owners seeking expert advice. In today's world, where discussions on bushcraft, prepping, and survival often include firearms, knowing where to start is crucial.
Finding Your Perfect Fit
Choosing a firearm is akin to gearing up for any sport. Just as a runner needs well-fitted shoes, or a footballer needs the right helmet, a firearm must fit its user both physically and functionally. Before making a purchase, consider this essential question:
What is the intended purpose of your firearm?
For everyday carry (EDC) or self-defense, a handgun typically fits the bill. But the choices don't end there—caliber, action type (revolver or semi-auto), size, and your hand size play pivotal roles. For instance, while a .22 pistol is excellent for small-game hunting, it may not be ideal for personal defense. Opting for a 9mm or .38 Special offers better performance for EDC.
Remember, starting with the biggest caliber isn't always the best strategy. A full-size 10mm auto might be too much for someone petite, just as a .380 PPKs may not suit a larger individual. Comfort and control are key; a poor fit can lead to discomfort and even injury.
Starting Small with Long Guns
When it comes to long guns for beginners, start small. Personal experience and historical data suggest that taking on a large caliber like a .300 Win Mag during your first range session is counterproductive. It’s essential to test different models to find one with the right length of pull and cheek weld position. Misalignment leads to poor accuracy and an unenjoyable experience.
Market Support and Accessories
Another critical factor in your firearm choice is market support. For handguns, ensure there are available holsters, spare magazines, and other accessories. For long guns, invest in quality slings, cases, and optics, along with the necessary magazines if applicable.
The Power of Practice
Regardless of the firearm you choose, practice is non-negotiable. Regularly disassemble, clean, and reassemble your gun. Practice dry firing (excluding .22 caliber firearms) in a safe environment . Familiarity with your weapon is essential for safety and proficiency.
Overcoming Industry Challenges
The firearms industry presents several challenges, particularly for beginners. Navigating choices without clear guidance can be daunting. Here are some unique perspectives to help overcome these hurdles:
- Expert Curation: Leverage the insights of seasoned professionals who have lived and breathed firearms their entire lives.
- Community Support: Engage with communities that share real-world experiences and tips. Collective wisdom is invaluable.
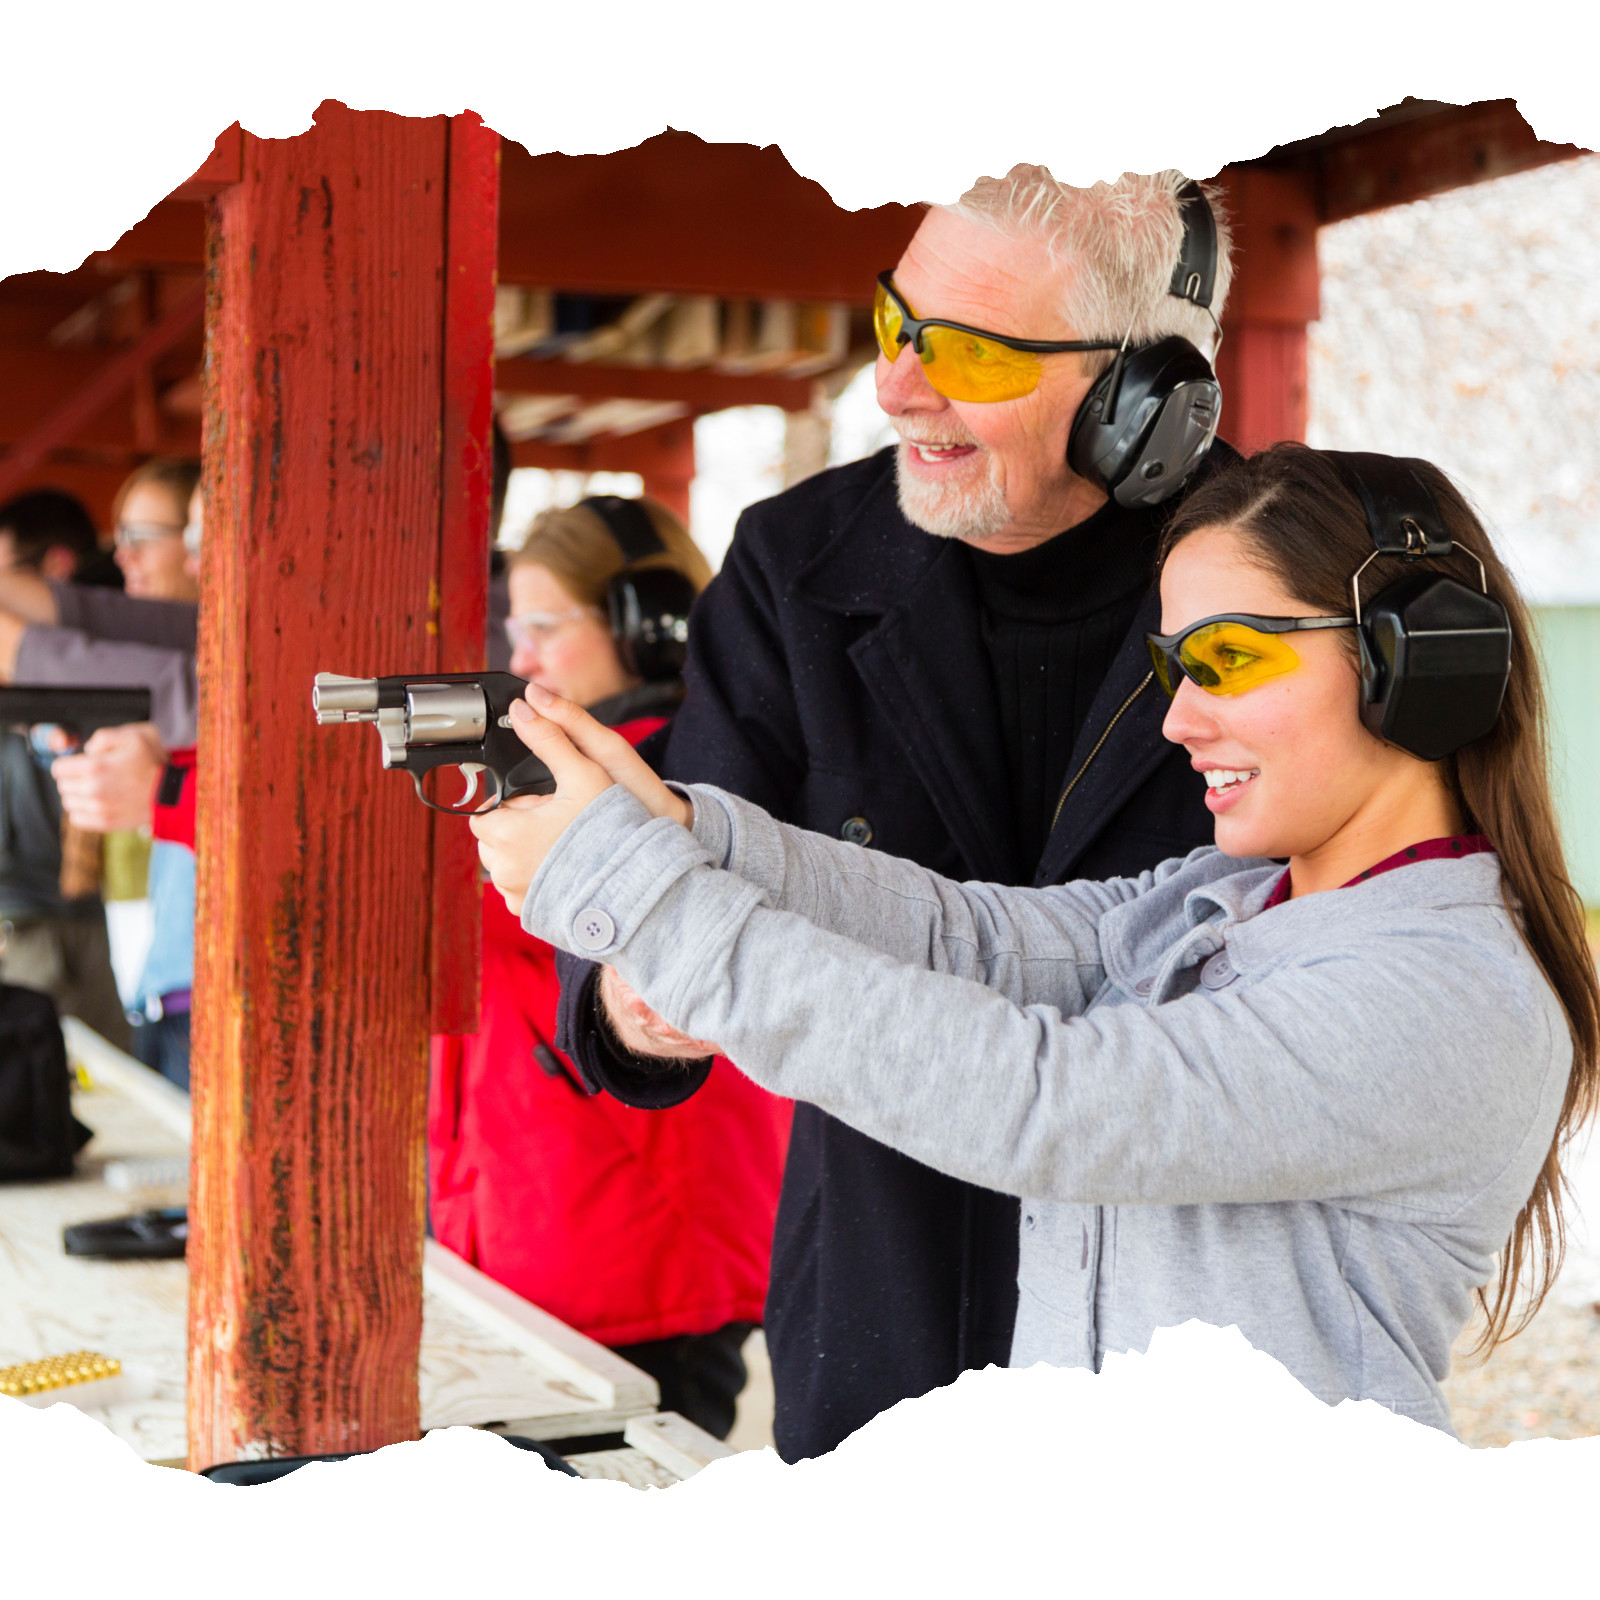
- Practical Training: Consider enrolling in training programs that offer hands-on experience and foster confidence.
Conclusion
Choosing your first firearm is a significant step that requires thoughtful consideration and expert guidance. By understanding your needs and exploring options with a hands-on approach, you can make an informed decision that enhances your safety and enjoyment.
Join our community today for exclusive tips, discussions, and support from fellow gun enthusiasts. Together, let's make your entry into the world of firearms a rewarding and knowledgeable experience.


